Fast prototyping: What does it take?
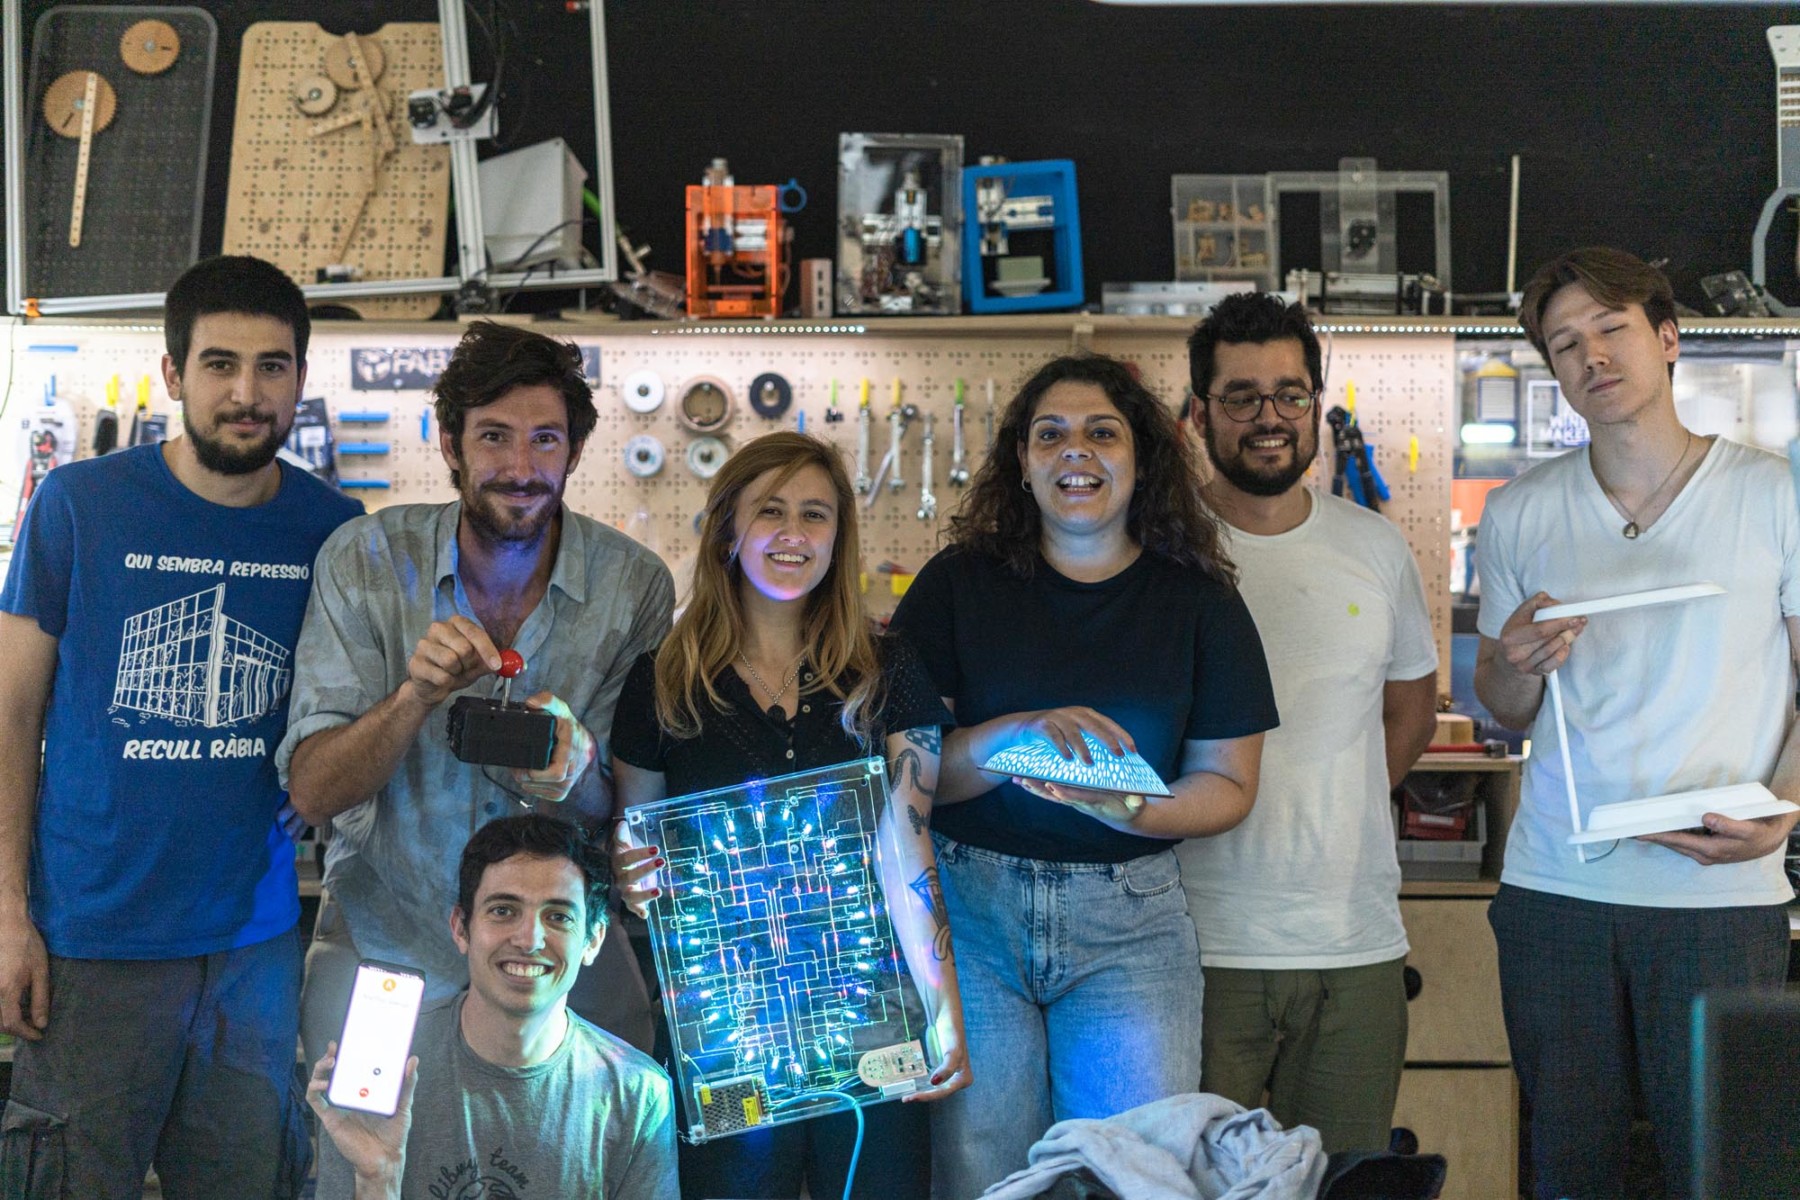
Follow the weekly progress of Fab Academy students Manuela, Aurel and Susana to discover the hands-on learning experience and its challenges.
Fab Academy is a fast paced educational programme that focuses on personal fabrication. Students learn rapid-prototyping by planning and executing a new project each week, resulting in a personal portfolio of technical accomplishments.
Since Fab Academy is so dynamic and the areas of learning change every week, we wanted to present this complexity in a suitable way. That is why we reached out to some of the Fab Academy students and asked them to share their opinions about each week as soon as it’s finished.
In the following blog post, you can find a short overview of what the students learned in the different weeks of Fab Academy along with quotes from Aurel, Manuela and Susana, bringing to light their experiences through the intensive programme. Make sure to scroll down to see all of the weeks we covered!
Week 16: Applications and Implications + Week 17: Invention, Intellectual Property And Business Models
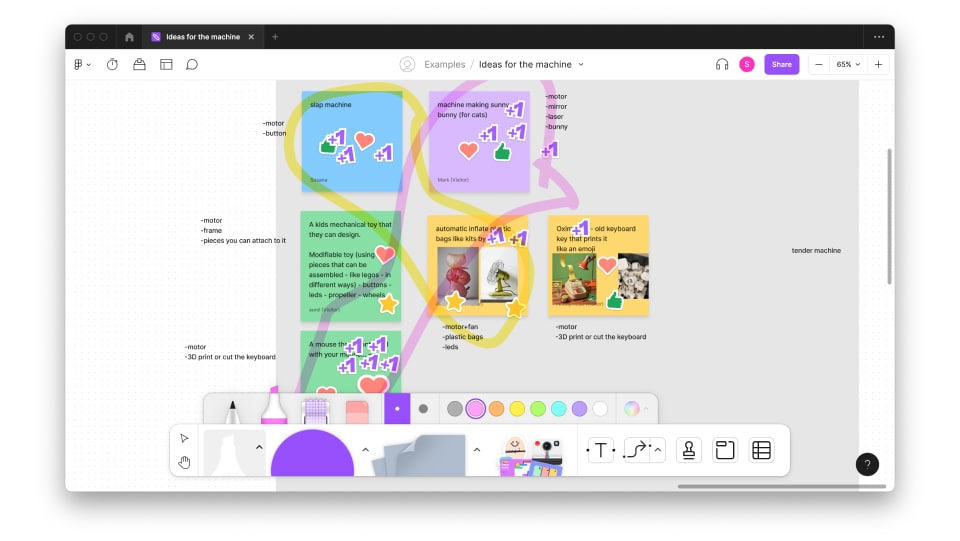
Week 16 + Week 17 is all about wrapping up all of the knowledge gathered throughout Fab Academy! During those weeks the students are focused on the final project they have to present at the end of the program. Throughout Week 16 each student makes sure that the concept behind their project is clear and fully developed, what parts and processes are going to be included, how much will it cost, etc. Week 17 is dedicated to creating a dissemination plan, preparing the draft for the video of the project and formulating what are the possible applications in the future.
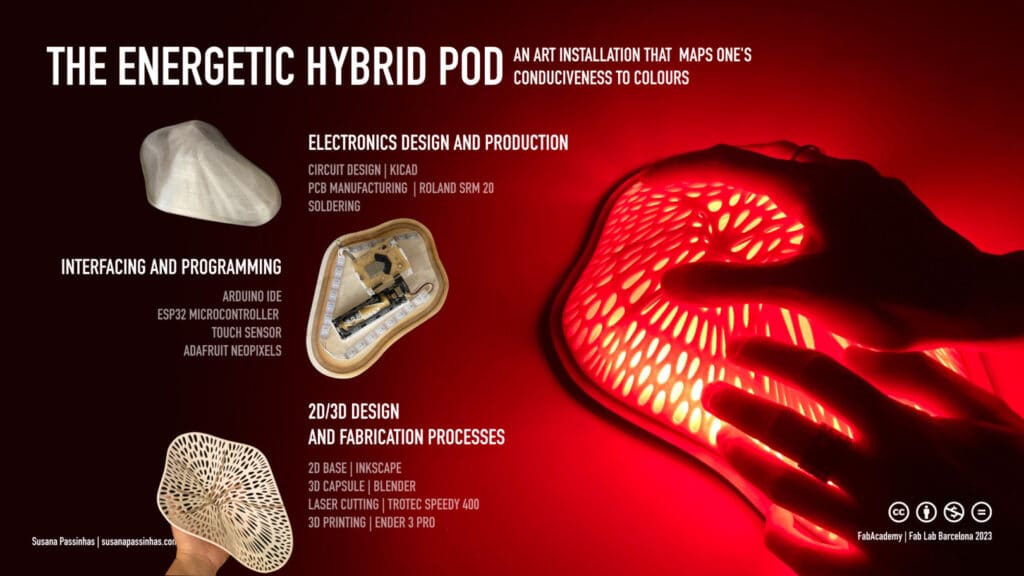
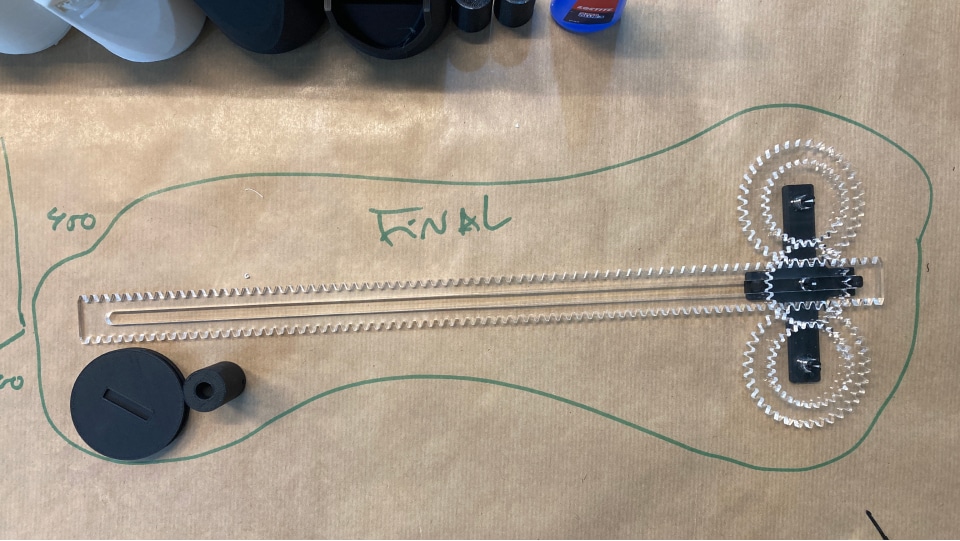
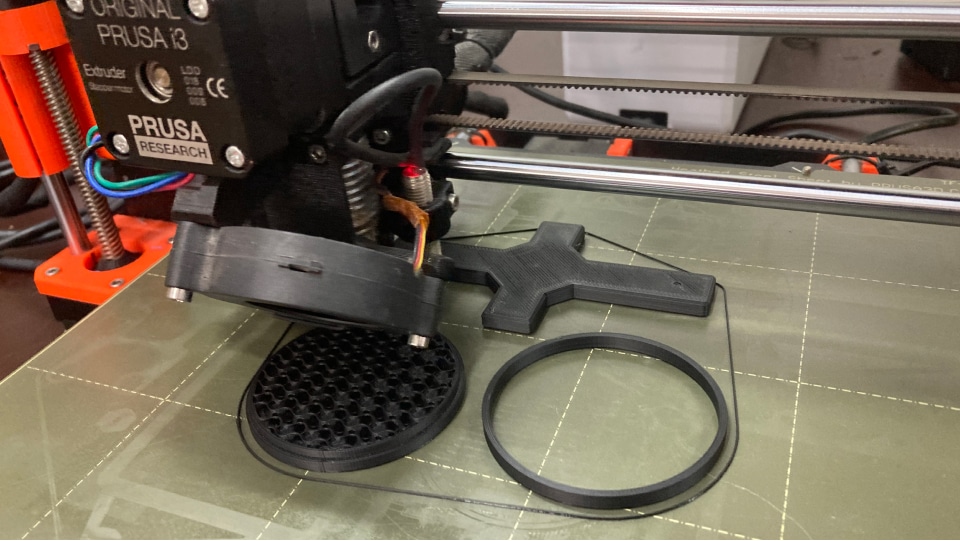
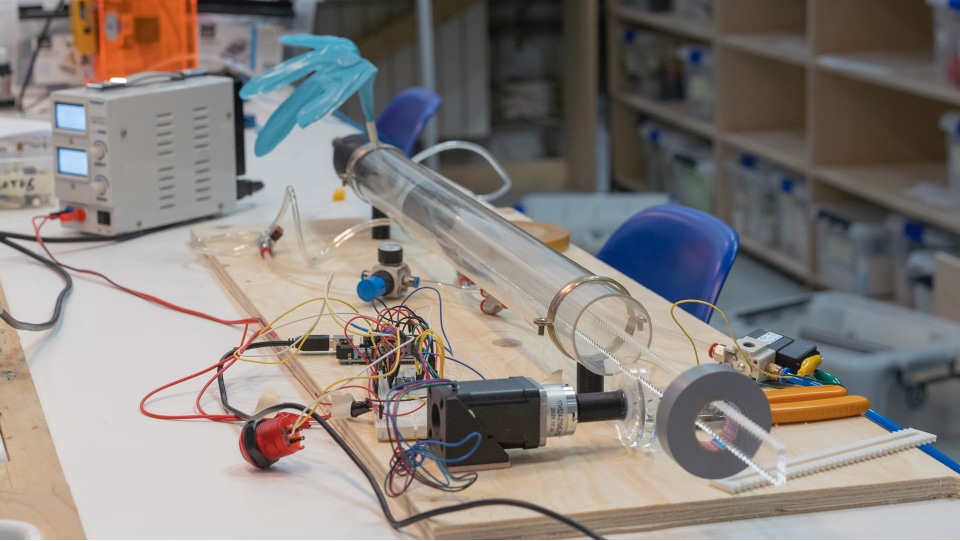
Here are the final projects of Susana…
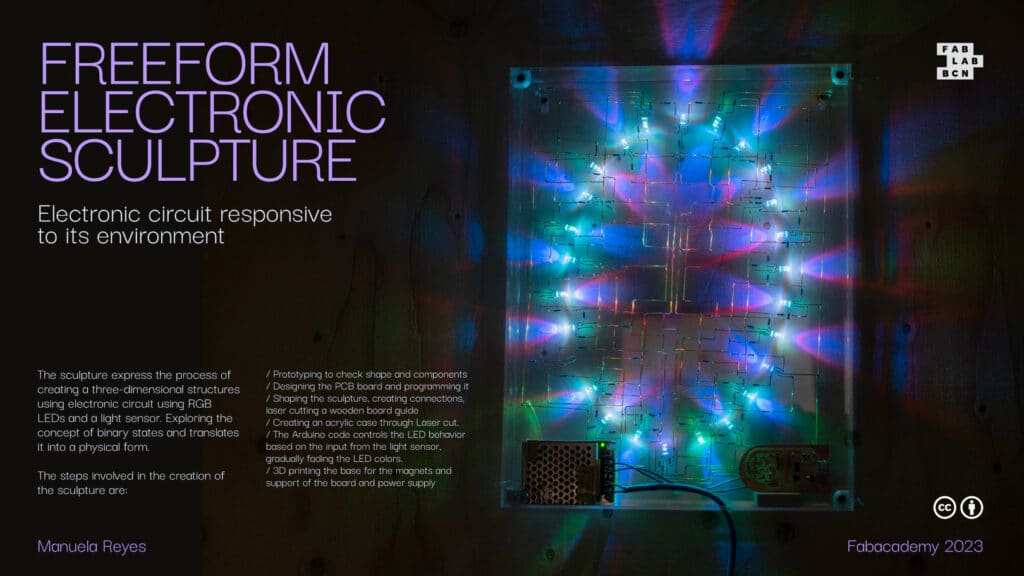
… and Manu!
Week 15: Wildcard Week
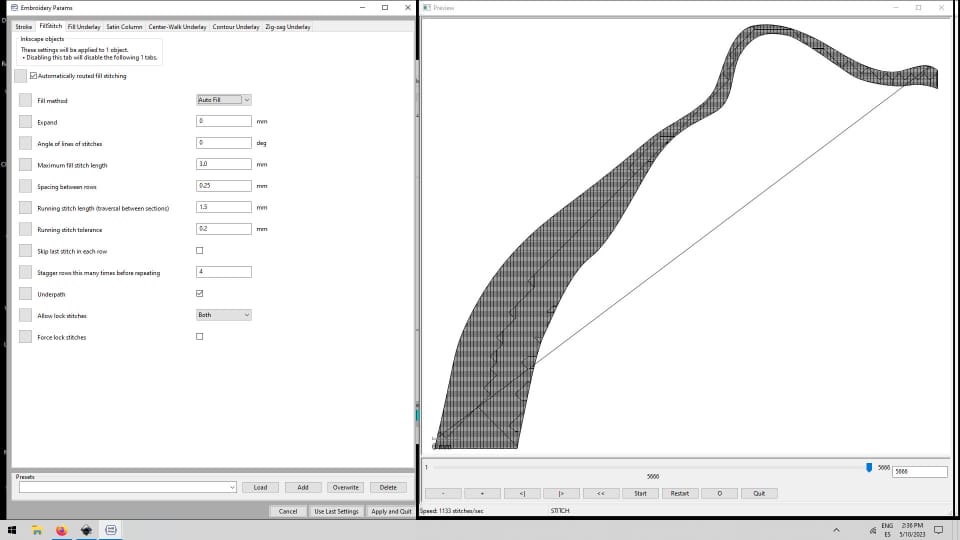
This week the students learned new techniques to work with in digital fabrication (welding, composites, soft robotics, and precious plastics) and new methods of digital fabrication (embroidering, robots, and 3d printing with ceramic paste).
Manuela
“This week was the most interesting week so far, learning how to do many different activities!”
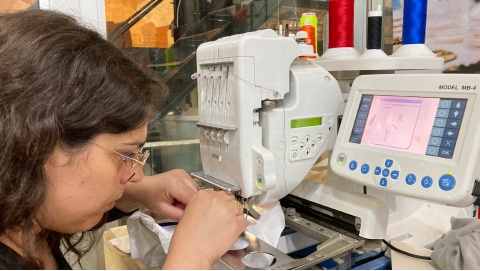
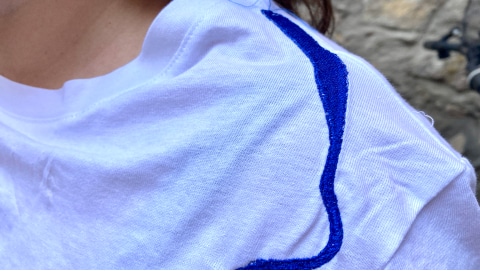
Susana
“For this week I chose to work with embroidering as a new process of digital fabrication. This was a really fun project and even my mom was jealous of the machine! I think it can be really creative too by using more modern shapes or different applications of embroidery in the clothes. Important lessons learned are to make sure to test in the same fabric, use good quality threads, and think twice before committing to the position of the embroidery.”

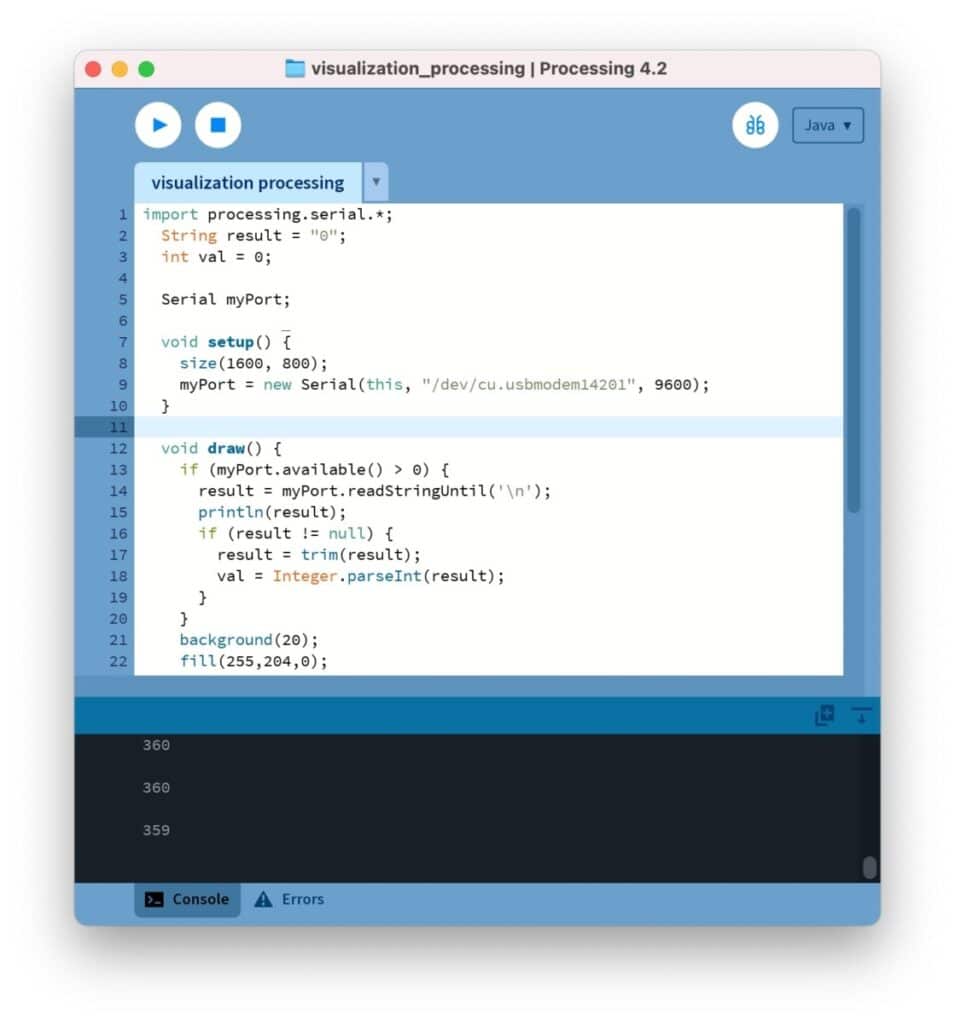
Week 14: Interface and Application Programming
This week is about creating interfaces with the computer and using the application to interact with the real world.
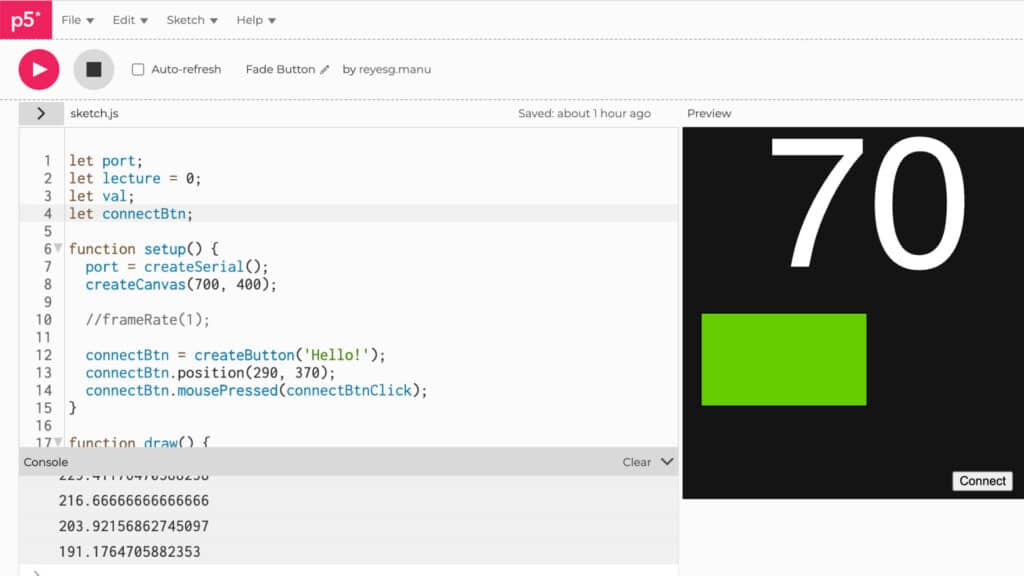
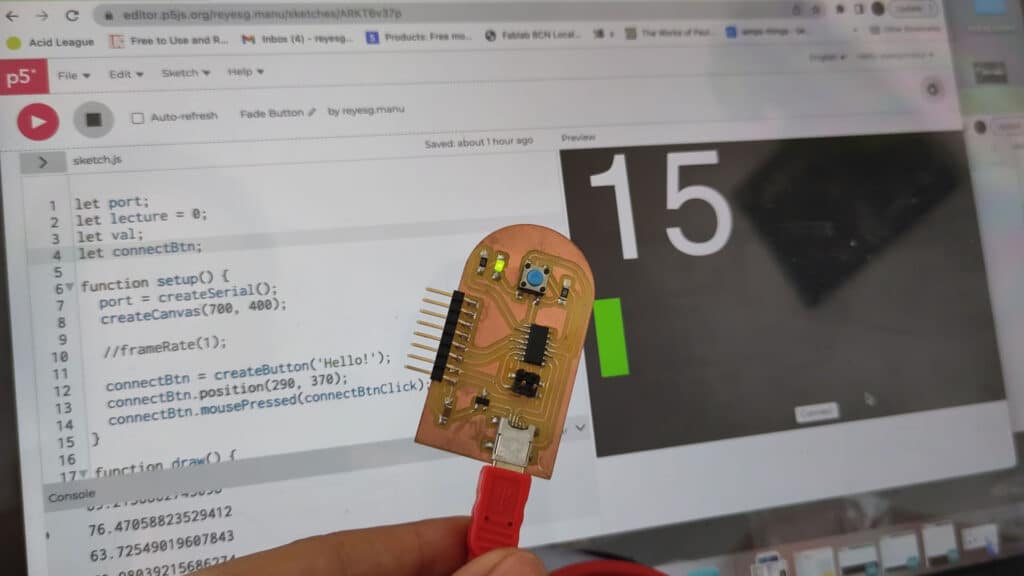
Manuela
“For this week’s assignment I wanted to use the second board I created, to connect through serial with P5.js, this way every time I press the button it would adjust the brightness value.”
Susana
“I have been trying to use every week’s assignment to explore things that are close to my final project and this week was no different. I decided to use the input work I have done before as the input for my interface.”
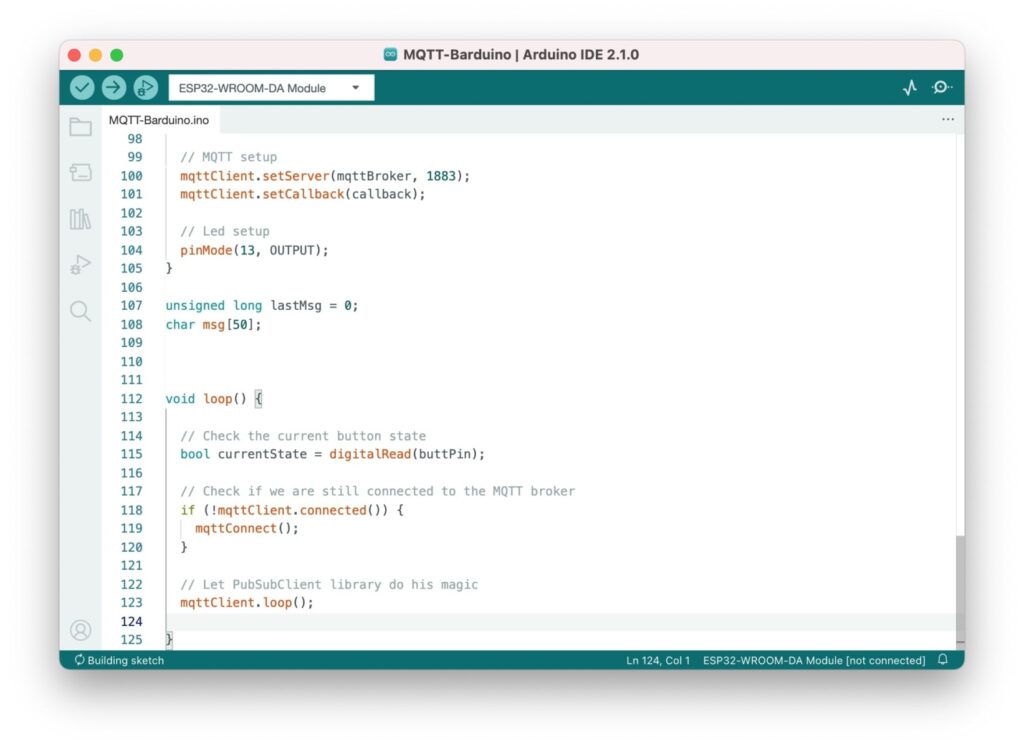
Week 13: Networking and Communications
The objective of week 13 is to answer the questions what is a network and how does it work?
Susana
“I thought this would be quite an easy week for me, I thought it was quite straight forward, but as usual with code and electronics, it is not…I spent more hours trying to figure out why is not working than in any other week!”
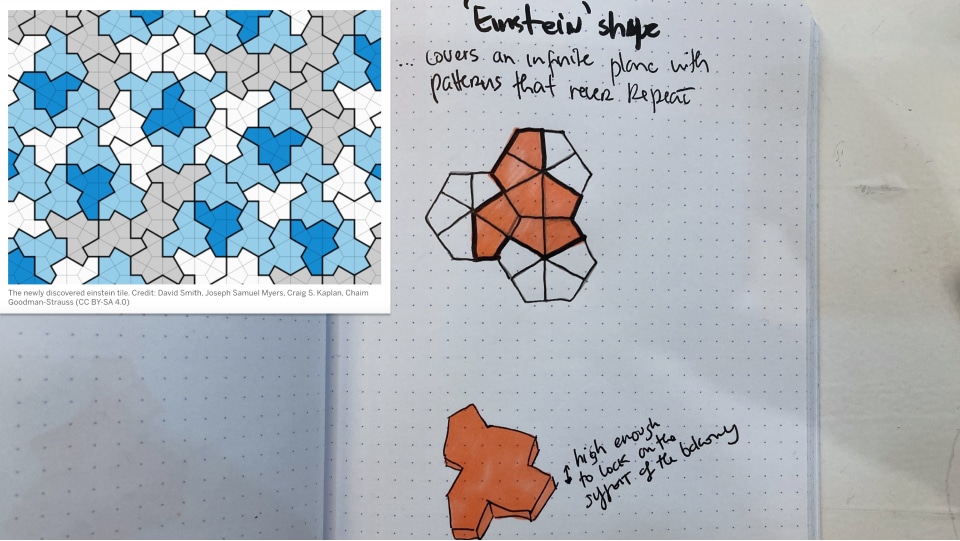
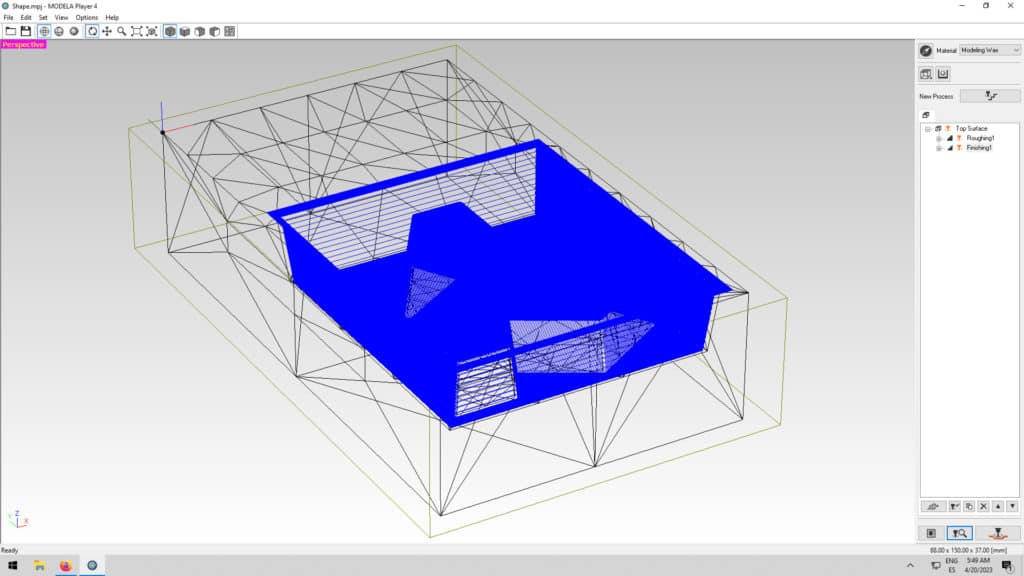
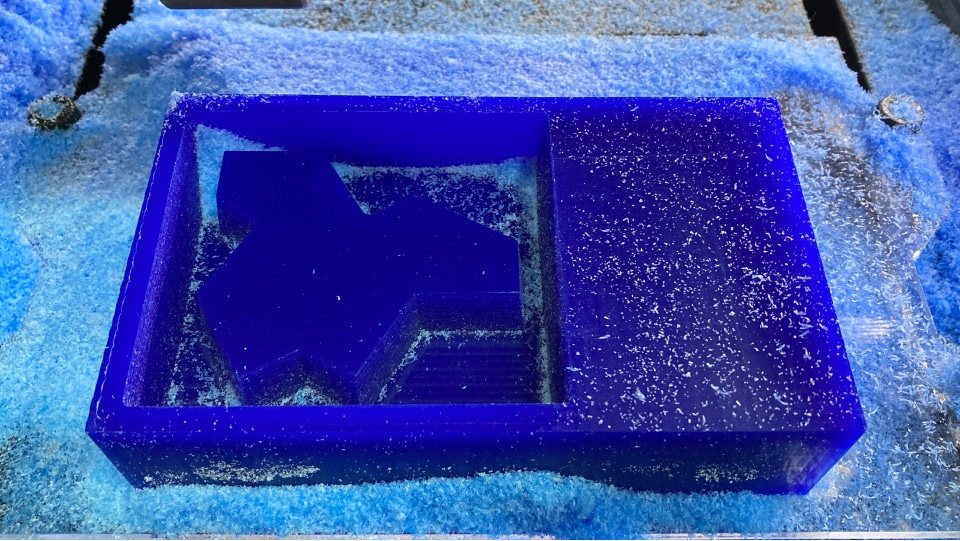
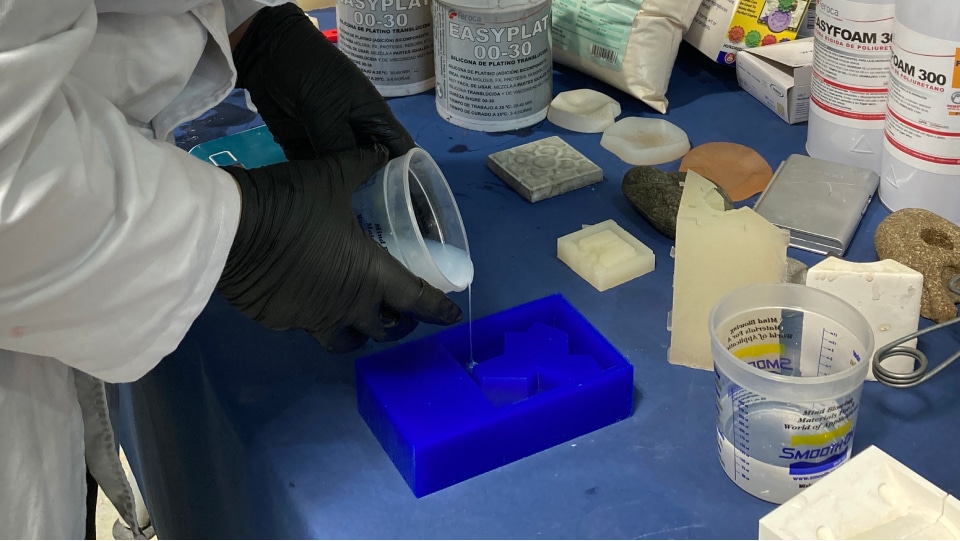
Week 12: Molding and Casting
During this week the students learn about different techniques to mold and cast.
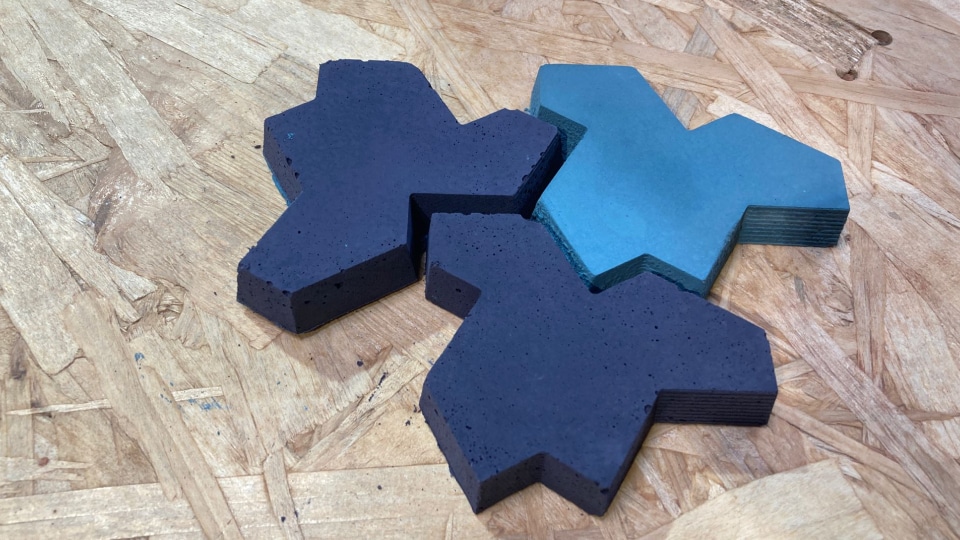
Susana
“I actually really enjoyed this week! A while ago I saw this news and I was quite fascinated with it. Mathematicians discovered a pattern that would never repeat and it looks quite beautiful to me. So I decided to do it as my mold for this week and use concrete to do the tiles. I liked all the steps of the process and didn’t have any major difficulties.”
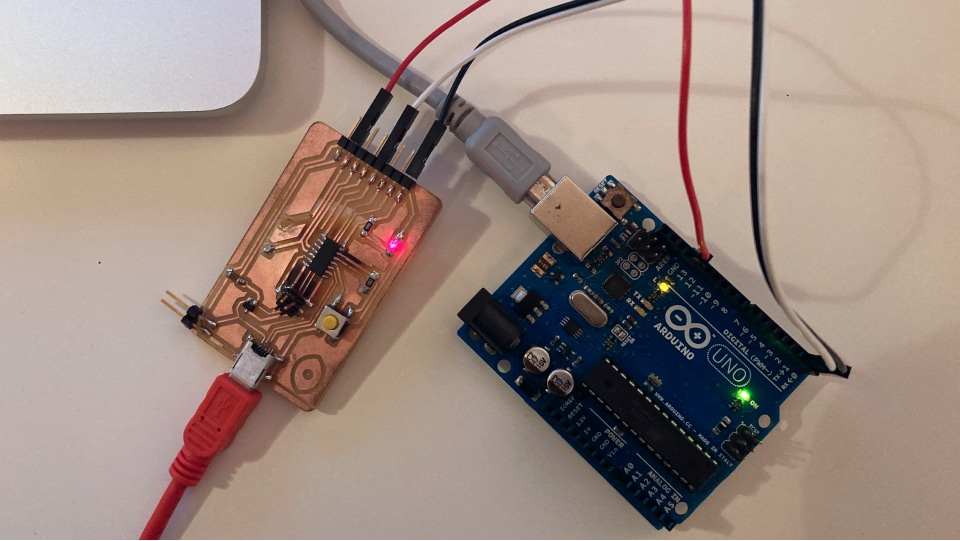
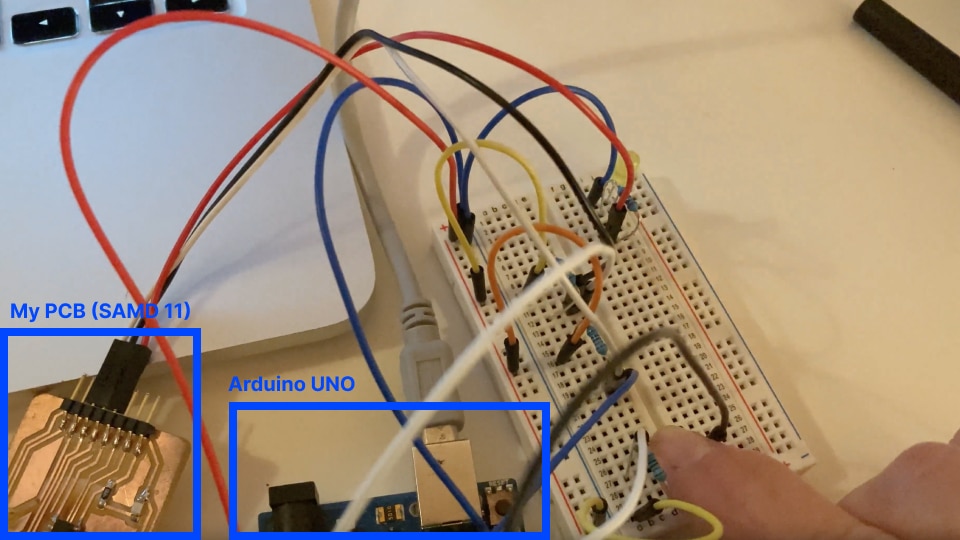
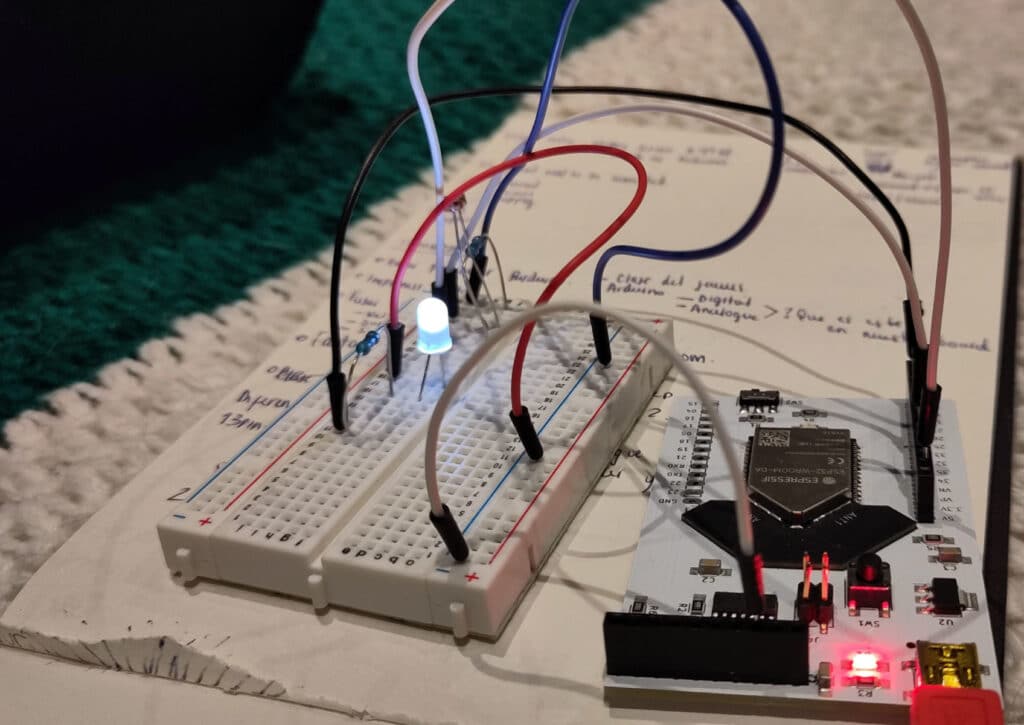
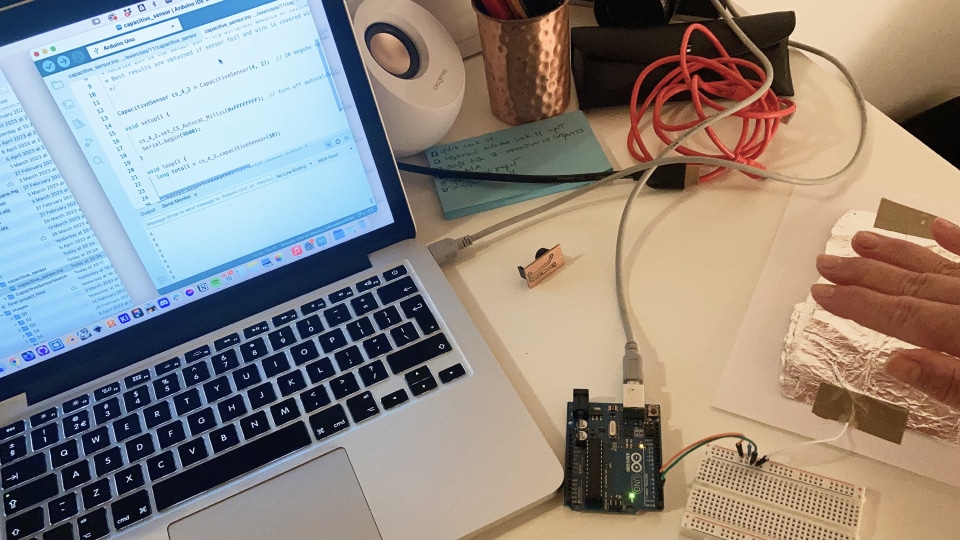
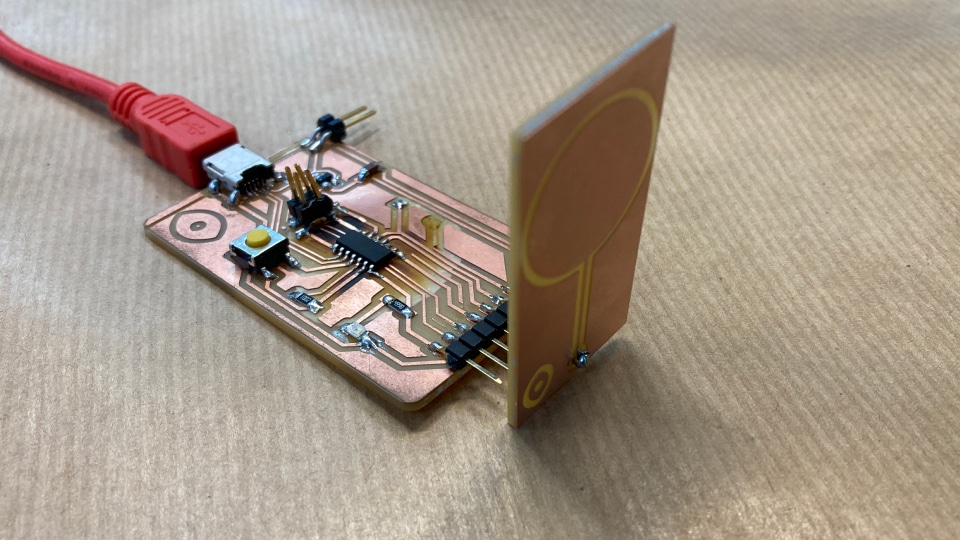
Week 11: Input Devices
This week covers input devices, used to send data or information to a computer or other electronic device.
Susana
“This week went quite nicely, everything went well, I really enjoyed the process of trying things in Arduino first to understand things and then going on to produce my own board. I also really like that I am using the board from the production week and doing these tiny boards that connect to it!”
Manuela
“This week’s project was a fun test that worked in the end with some help from my instructor.”
Week 10: Mechanical and Machine Design
The objective of the tenth week is to create a machine to test outputs as part of a group assignment.
Manuela
“A thing to learn: simple is always better, then go for more complexity.”
Susana
“This project was fun to do as it was sort of a culmination of everything we have been learning so far. It was quite nice to feel comfortable using the machines and being in an exploratory mindset.”
Week 9: Output Devices
This week is all about output devices, which are controlled electronically and convert power into motion, light and sound.
Susana
“Manufacturing the board was really straight forward as I had been manufacturing a few boards for the previous week. I was really happy that everything worked!”
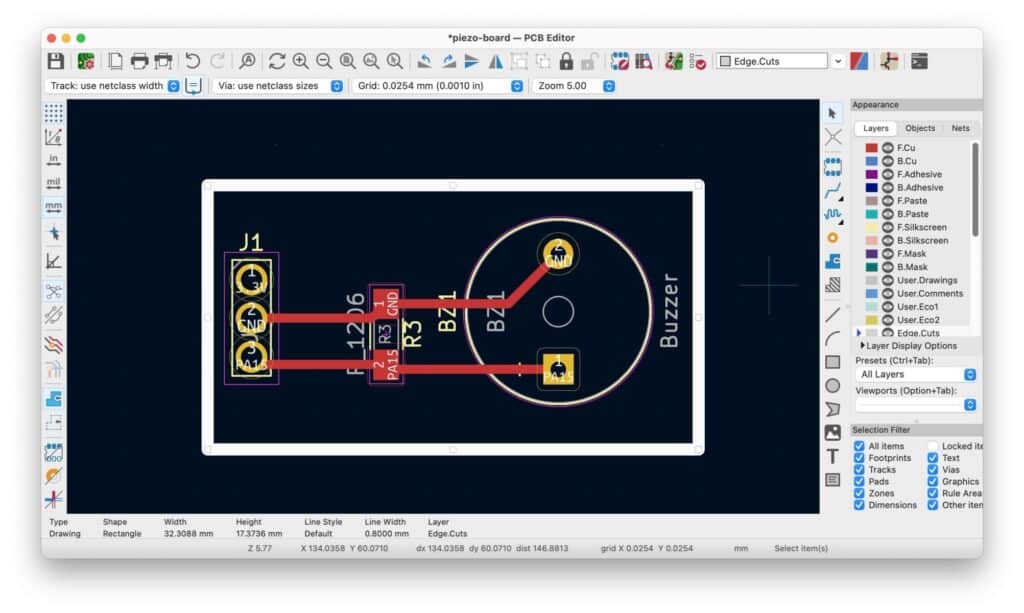
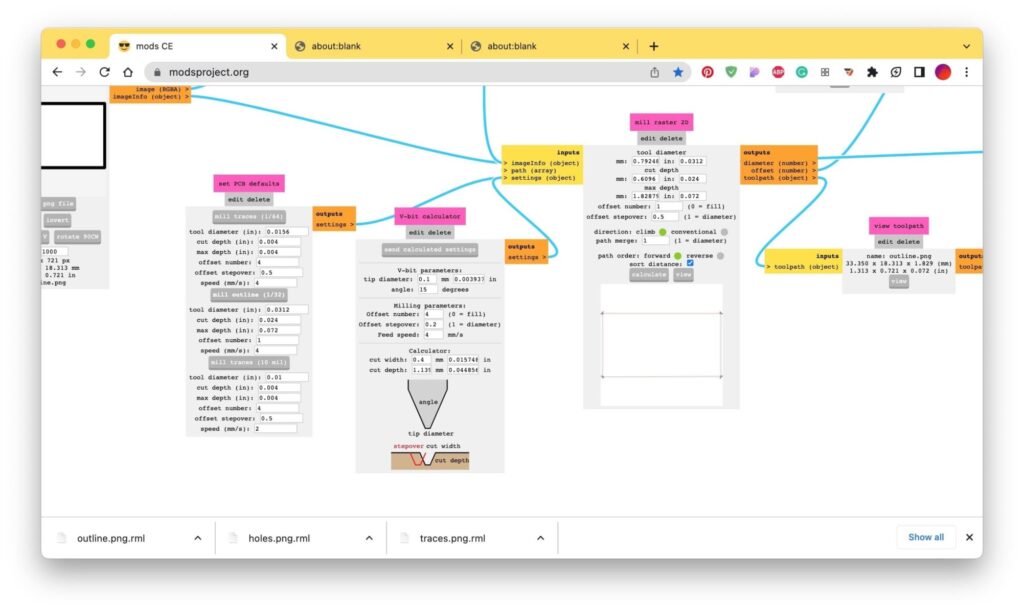
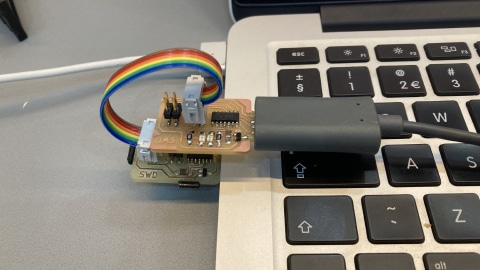
Week 8: Electronics Production
The objective of the eighth week is to learn how to produce a PCB (Printed Circuit Board). The students had to manufacture their own PCBs that they designed two weeks ago.
Aurel
“It’s something that was completely new to me – electricity and circuit boards. I think the biggest struggle is that you need to really anticipate everything and if you decide to change something you have to start again from zero. That’s a really important learning because it’s completely different to how we work in design where we try things out. Here if it doesn’t work, it’s just not going to work.”
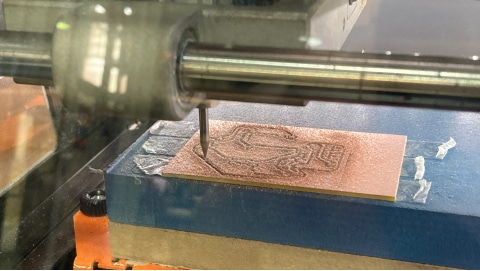
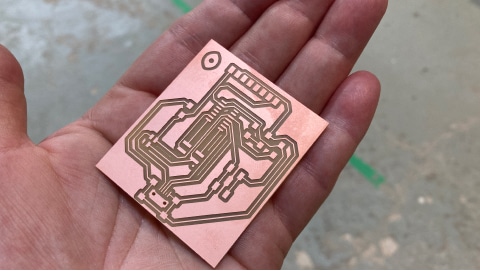
Susana
“I learned how to use the CNC machine for cutting the PCBs and how to solder components, which was quite nice! What I struggled with the most though was the mistakes I made. I used the wrong components and in the wrong positioning. I also had to cut a few boards, because one was not calibrated. So actually, it was one of the weeks where I made more mistakes.”
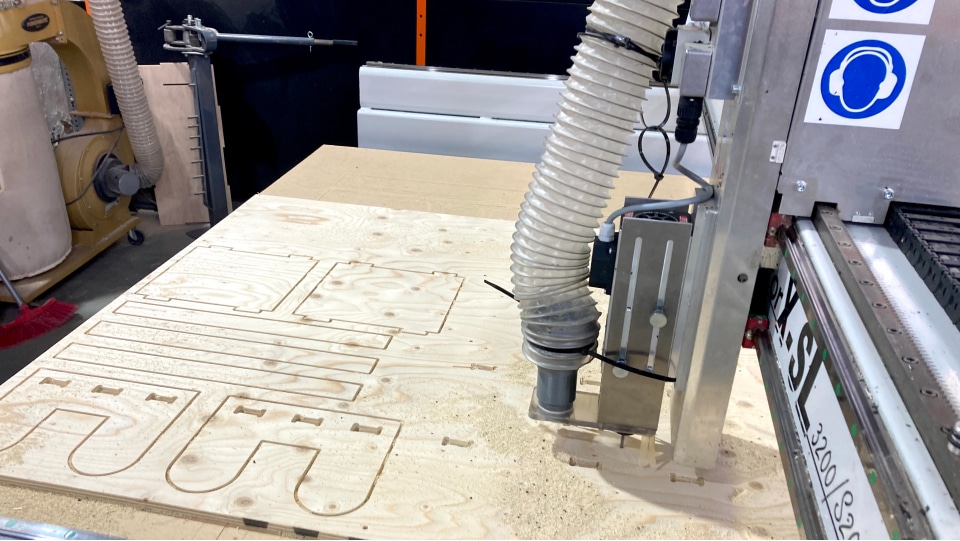
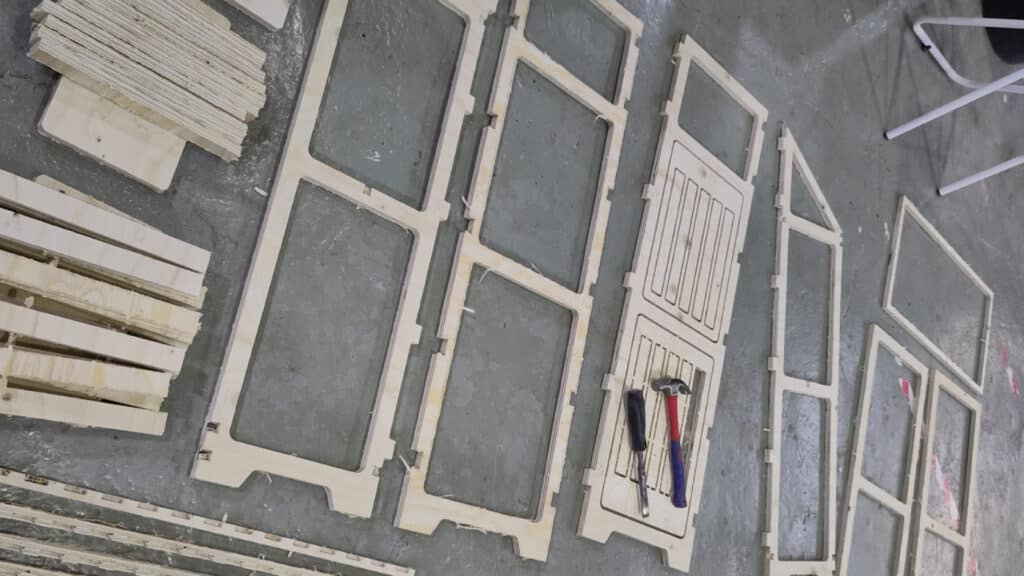
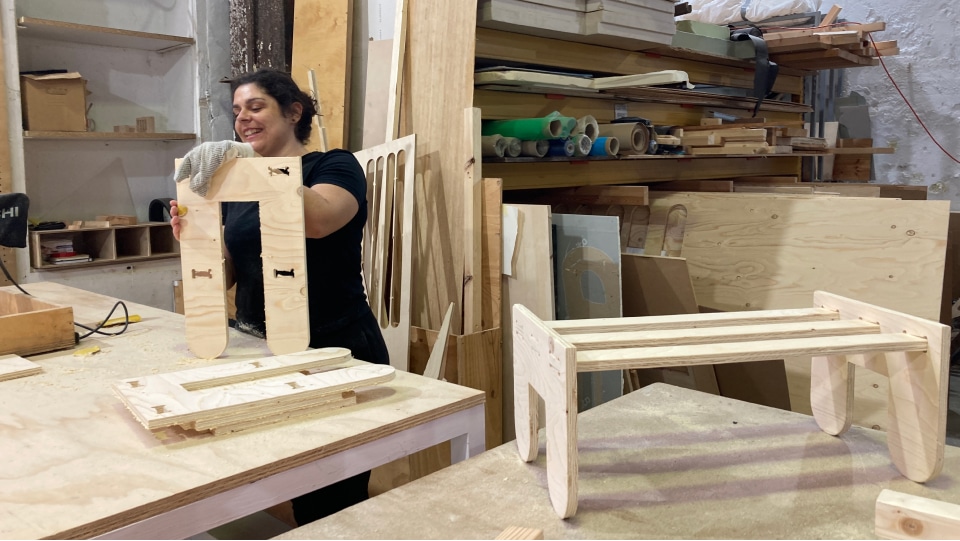
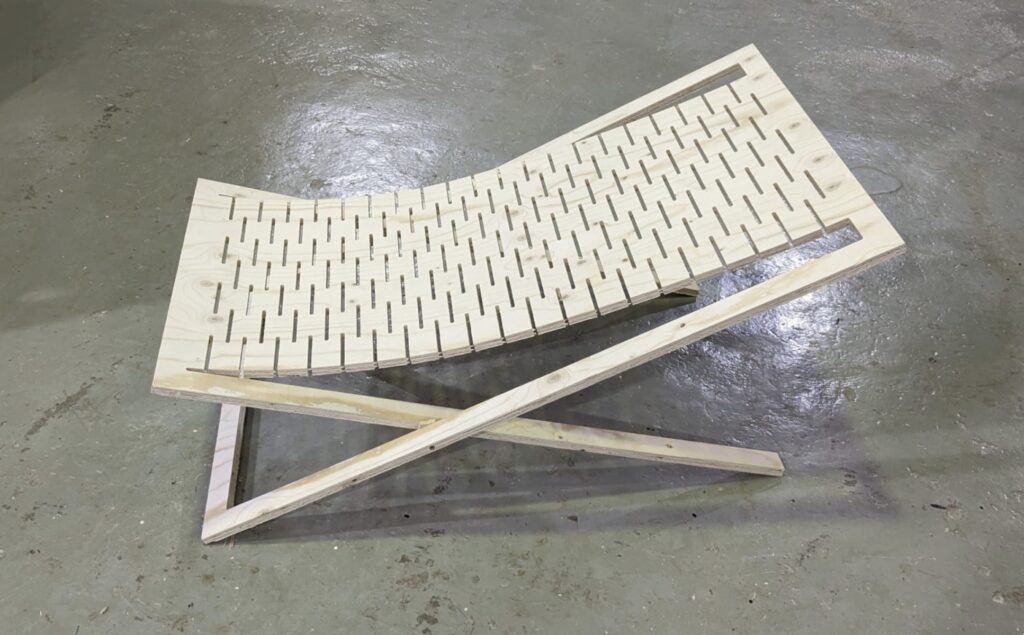
Week 7: Computer-aided Machining
The objective of this week is to get introduced to Computer-aided Machining and to learn how to use and operate the CNC. Computer numerical control (CNC) is a subtractive procedure that involves the use of computers to control machine tools.
Manuela
“This is my favorite week so far. I was dying to get to know this machine. I come from product design so I already know how to design, but I had never been able to cut by myself before without any people helping me.”
Aurel
“What was really cool is obviously exploring, testing on different things, setting up the puzzle, this takes quite a lot of time. It’s super interesting to learn how the whole process works. What I’m really hoping to get from this is not for the teachers to always be there to help us, it’s more about giving us the tools at the beginning, obviously with us making mistakes.”
Susana
“What I learned was to overcome my fear of the machine. I’m not used to working with machines so I was kind of scared of using it. But in the end it went well. It is really empowering to do your own furniture!”
Curious to learn more about Fab Academy? Discover the programme here.